Building a Gameboy From Scratch: Part 1
This series of blog posts is going document my work on building a Gameboy from scratch. The goal is to create a physical handheld console just like the original Gameboy from 1989 with just one major difference: a bigger and better screen.
I like the original Gameboy and many of the games produced for it. The only thing that could use some improvement is the screen. It’s not backlit, it’s small and it lacks proper contrast. I don’t even mind its missing support for colors — I mean, other than the four shades of green, of course.
Now, there are ways to upgrade just the screen of the original Gameboy but that’s not what I’m gonna do. I also want to learn about the inner workings of the device itself as well as get more experience in building electronics in general. That’s why I’m going to build my own device running my own emulator that feels as close to the original as possible while still providing an upgraded experience.
I invite you to join me on this endeavor which is going to touch a variety of topics.
The Hardware
In order to better understand what I want to build I need to take a look at the original Gameboy’s specifications.
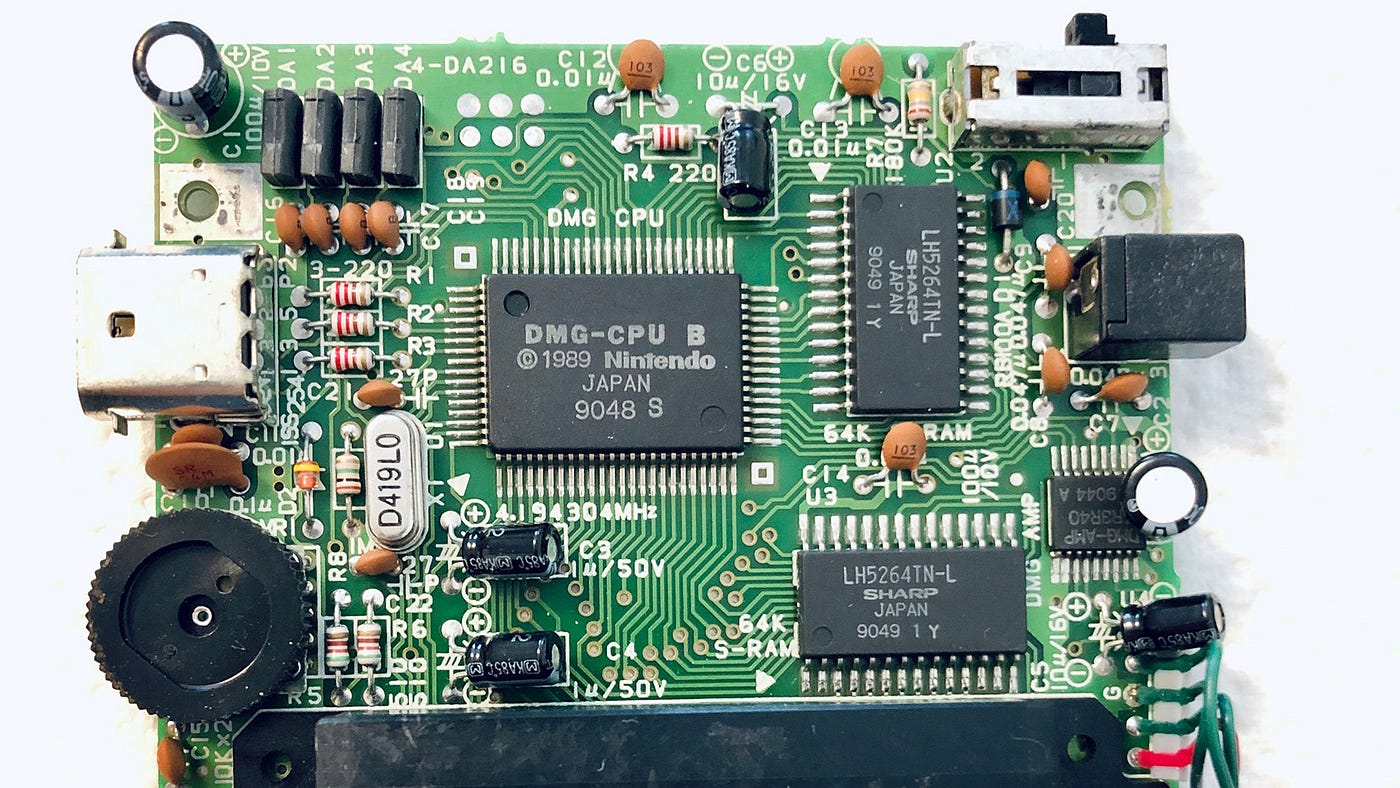
The Gameboy is powered by a custom CPU that’s very similar to the Zilog Z80 and the Intel 8080 — both very popular CPUs during the 1980’s. Next to the CPU sits a crystal oscillator that drives the CPU with a frequency of 4.19 MHz. Compared to modern handheld systems with 1 GHz and more that’s almost nothing. Also on the board are two 64 KByte chips of static RAM.
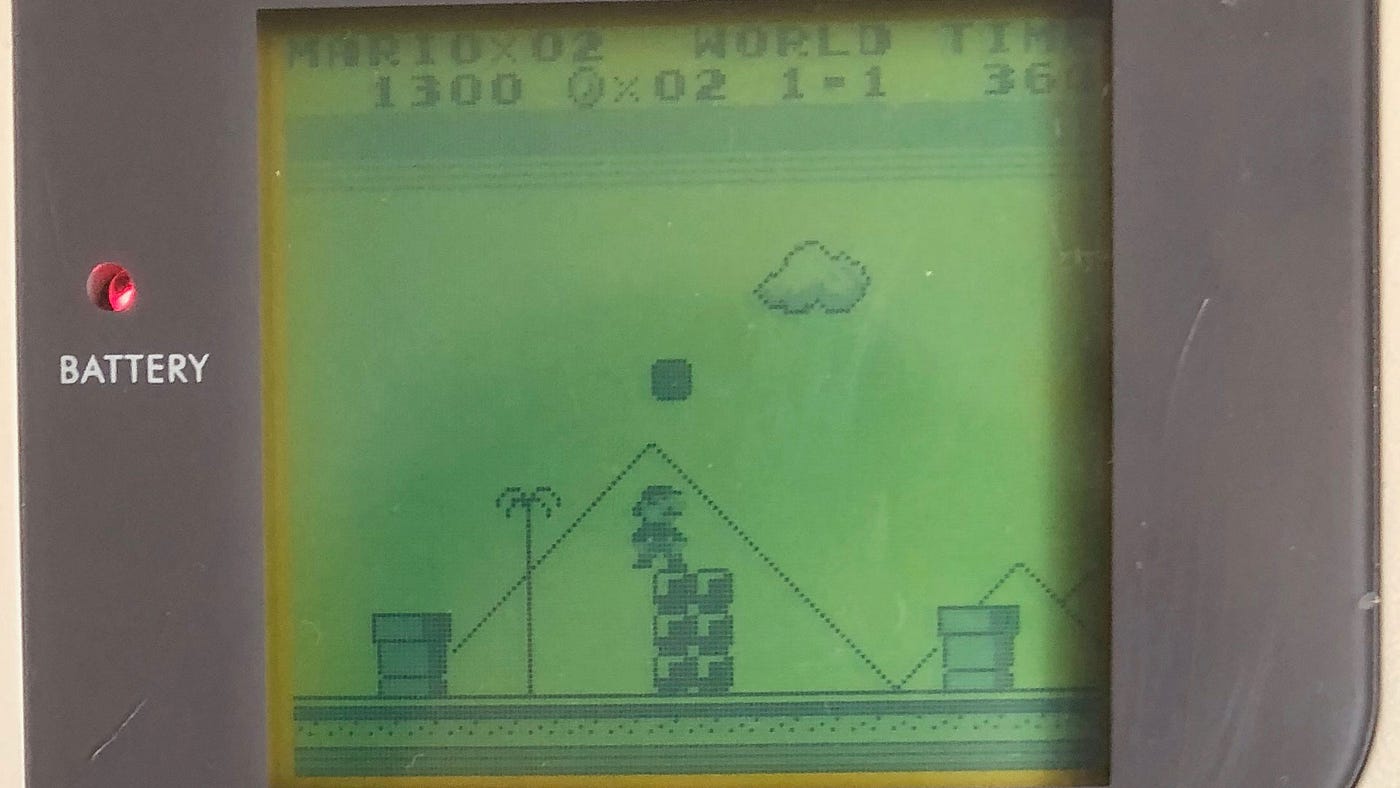
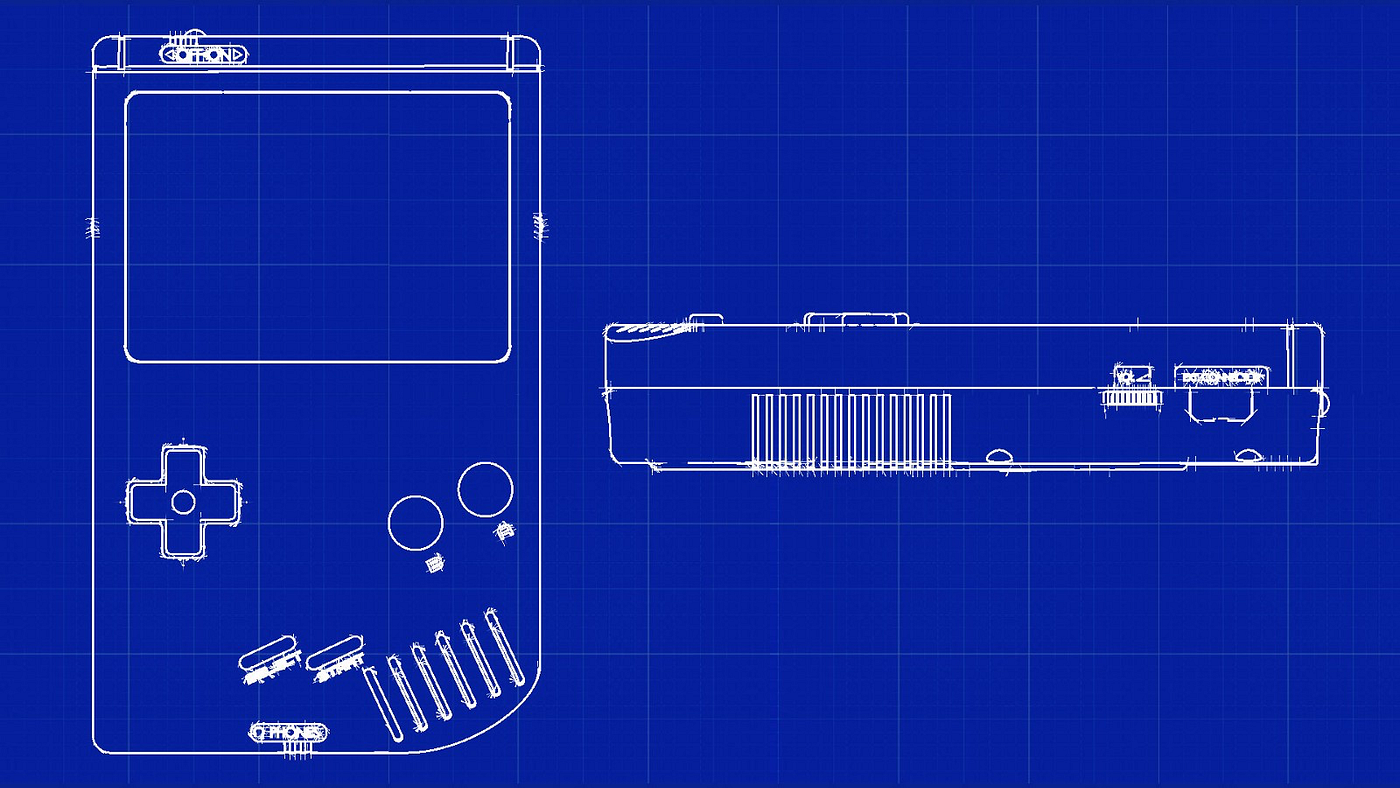
The Gameboy features a 160x144 pixel display with four different shades of gray that famously look more green than gray. The screen has no backlight and its contrast can be controlled by a wheel on the left side of the device.
In addition, the Gameboy has an internal speaker with mono sound output as well as a headphone jack with support for stereo sound. Volume can be controlled using another wheel on the right side of the device. The sound generator has the ability to produce four independent voices: two square waves, a noise channel and a custom wave pattern.
On top of that, the Gameboy also includes an interface for serial communication and a cartridge slot for game cartridges.
Chip Select
What chip and ultimately what platform am I going to build this on? The device needs to emulate a 4 MHz CPU (although it’s more like 1 MHz but more on this later in the series). It needs to output 23040 pixels at a reasonable frame rate — the original Gameboy has a frame rate of around 60 Hz — and generate the four different sound voices.
I want to make this project as accessible as possible, so the Arduino platform comes to mind. It’s also fairly easy and cheap to prototype on this platform. Now, an Arduino Uno or Nano runs at a clock speed of 16 MHz and while this is faster than the 4 MHz of the target platform, a mere factor of four will not be enough to properly emulate the Gameboy. The Arduino Due runs at 84 MHz which may be enough but I fear it still won’t be.
Another option would be to use the Raspberry Pi platform which offers clock speeds within the GHz range. While this would be a very viable option (in fact, there are many examples of retro console emulators running on Raspberry Pi), I see the Pi almost as a fully featured Computer since it usually runs a whole OS (i.e. some Linux distribution). I don’t want an OS underneath my emulator, just the emulator running on bare metal. That’s why the Raspberry Pi won’t be an option for me with this project.
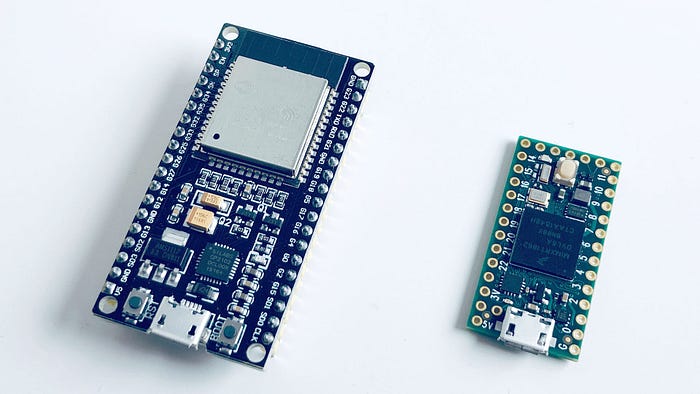
A very popular chip that’s also supported by the Arduino platform is the ESP32. It features two cores clocked at up to 240 MHz each. On top of that it also provides integrated wireless connectivity like WiFi and Bluetooth. An emulator could probably benefit a lot from the two cores by running CPU emulation parallel to the graphics and sound generation. Although the ESP32 would certainly be a good choice, I’m not going to make use of all the wireless features. That’s why I decided to go with another technology: The ARM Cortex-M7. There’s a great little board featuring one of these chips called the Teensy 4.0. It’s very affordable and has great support for the Arduino platform, all while being clocked at a frequency of 600 MHz. At this clock speed there should be enough horse power to emulate a Gameboy despite having only one core available.
What’s great about all these chips is that they’re systems on a chip (SoC). They’re not just CPUs, they come with integrated ROM and RAM, so I’m basically only going to need one of those boards be able to start my project.
Peripherals
Of course, I’m also going to need some other hardware — most importantly a display. I’ll probably also need an extra chip for sound generation, a speaker, a couple of buttons, a headphone jack and ultimately a case to mount all of the components in.
Let’s start from the end. I’m probably going to use a modified Gameboy replacement case to house all the components. The same goes for the buttons.
I’m going to ignore the sound chip for now and will be focusing on the display. The original Gameboy has a 2.6 inch screen, I’d like to have at least 3 inches or more. Also, I want to be able to properly output 160x144 pixels without any scaling artifacts. This means the resolution of the final display has to be a multiple of 160x144 (something like 320x288). It’s almost certain that I won’t be able to find a screen with those exact specifications. Most screens nowadays come with resolutions like 320x240, 480x320 or 800x480.
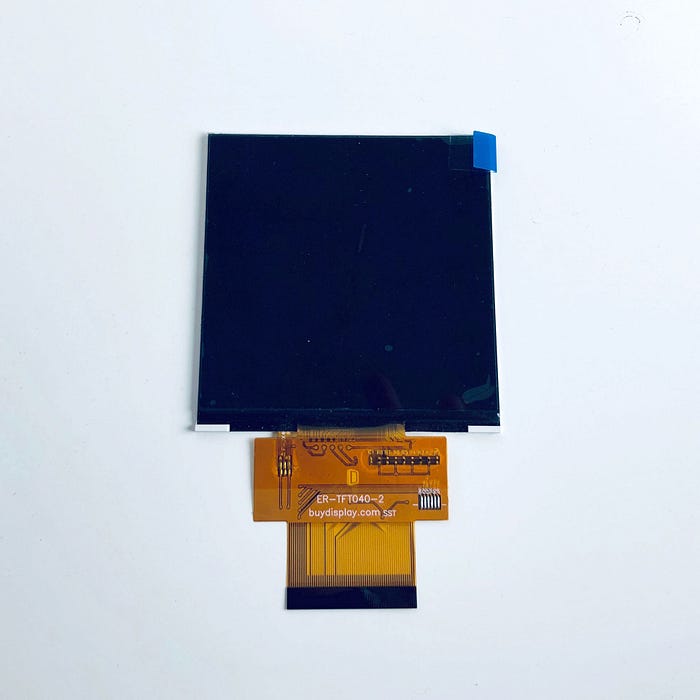
Luckily I was able to find a suitable screen: A 4 inch display with 480x480 pixels. This is basically three times 160x160 and it’s almost a perfect fit for the Gameboy.
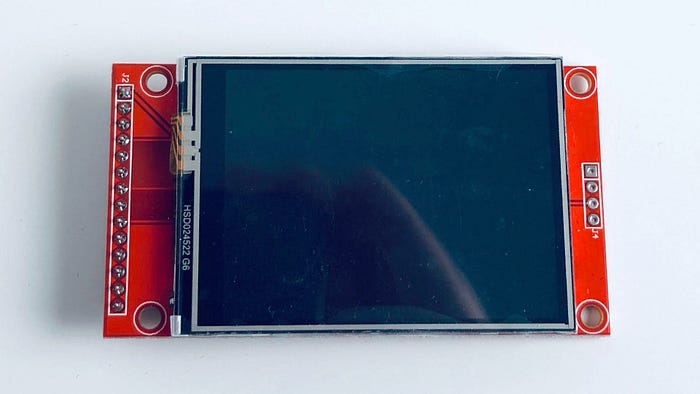
As I will have to write my own drivers for this module, I’ll be using another screen during the early prototyping phase: The within the Arduino community very common 2.4 inch display module with 320x240 pixels. It’s well supported by the Arduino platform and should allow me to get some visual feedback very quickly.
That’s it for the project setup.
Next I’m going to tackle the Gameboy’s CPU. I’ll be analyzing how CPUs work and how they can be emulated.
Further down in this series I’ll have to deal with graphics generation, sound generation and technical details like interrupts and DMA (direct memory access).
The Series so Far
This— Building a Gameboy From Scratch
Part 2 — The CPU
Part 3 — Memory and Memory-Mapped I/O
Part 4 — Running Tetris
Part 5 — Display Timing Circuit
Part 6 — Behold the Breadboard Gameboy
